> Product Knowledge > Laser Cleaning > SUP22C > How to adjust the red light bias of the cleaning torch head Please note:
1. Only when the red light is a line, it can be debugged by the following methods. If the red light is a point, please refer to the line change point treatment scheme, because it may be biased when it does not swing.
2. If you see a mass of light from the protective mirror instead of a line, consider whether the mirror is broken.
3. Please make sure that the state of 15V power supply is normal.
I. Installation of orthotics
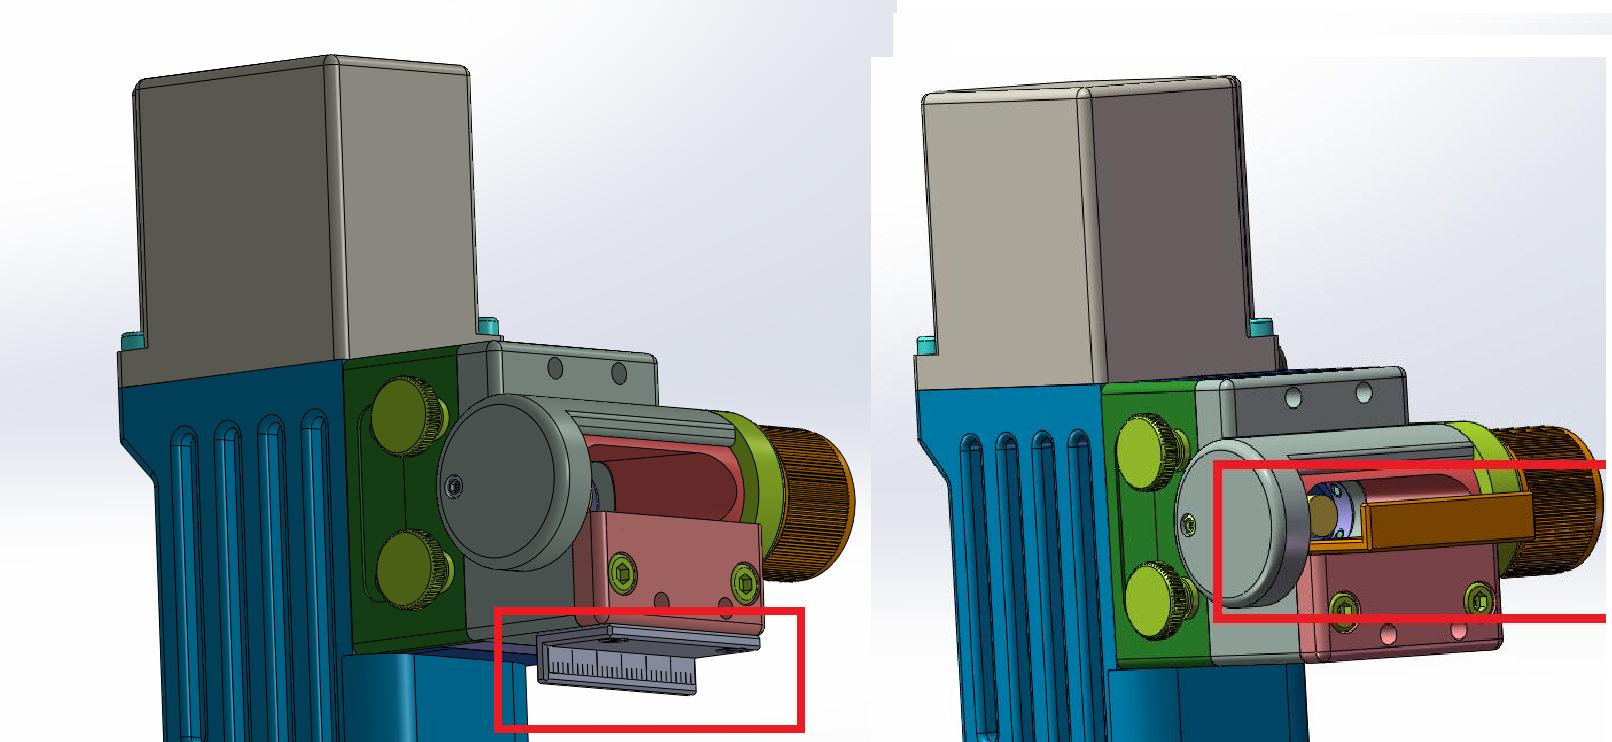
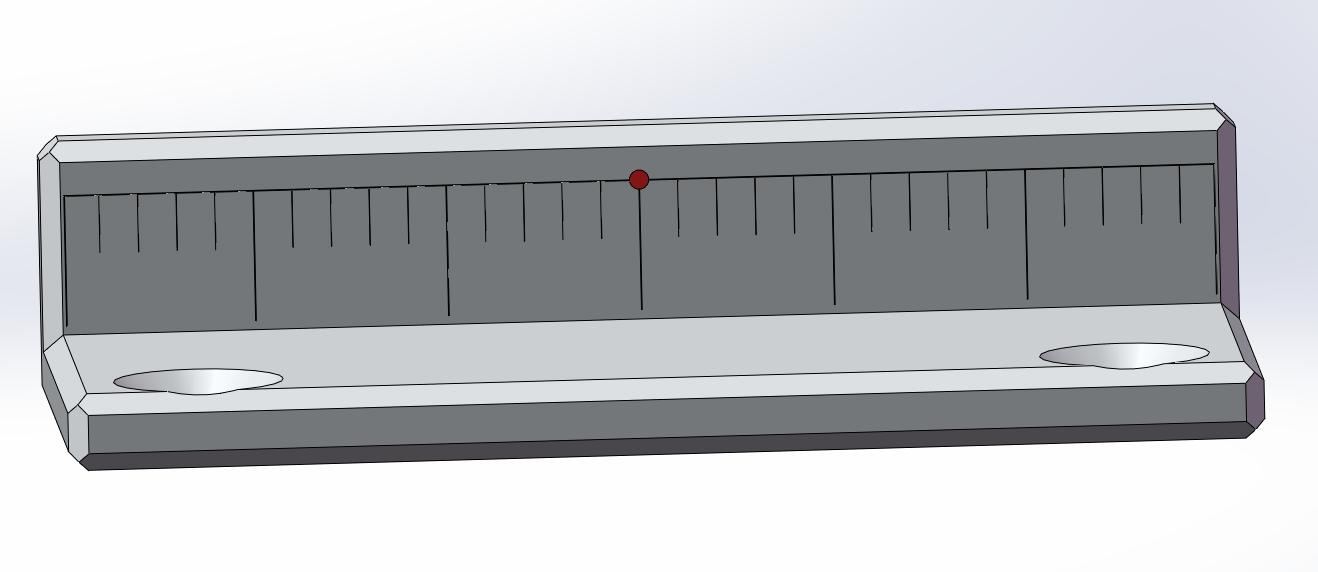
Please disassemble and install the "calibrator" under the gun head in Figure 1 in the calibration position as shown in Figure 2.

II. Replace the matching red light adjusting lens.
2.1.SUP21C is placed in the protective mirror position with F50 collimating lens.
2.2.SUP22C is placed in the focusing lens position with F60 collimating lens.
[It must be noted that the collimation used above is D20, so please do not directly test it with the fittings (D16) of the original gun head]
Home-Turn off the indicator red light-At this time, the red light is a point, and then adjust it.
III. Setting adjustment
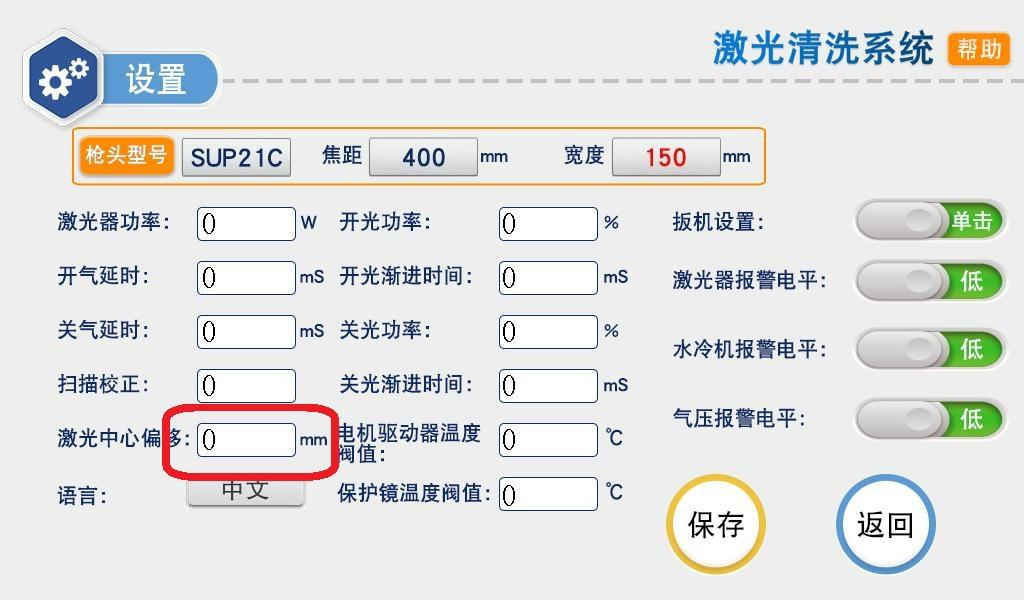
Click on the screen setting page 【 Value of Laser Center Offset Right 】 to enter 【 Offset Correction 】. Enter a positive number to move to the right and a negative number to move to the left. Adjust the parameters according to the actual situation until the red light is in the middle.


After calibration, put the calibrator back, replace the original lens at the same time, and start normal cleaning.
Video demonstration( SUP21C)
